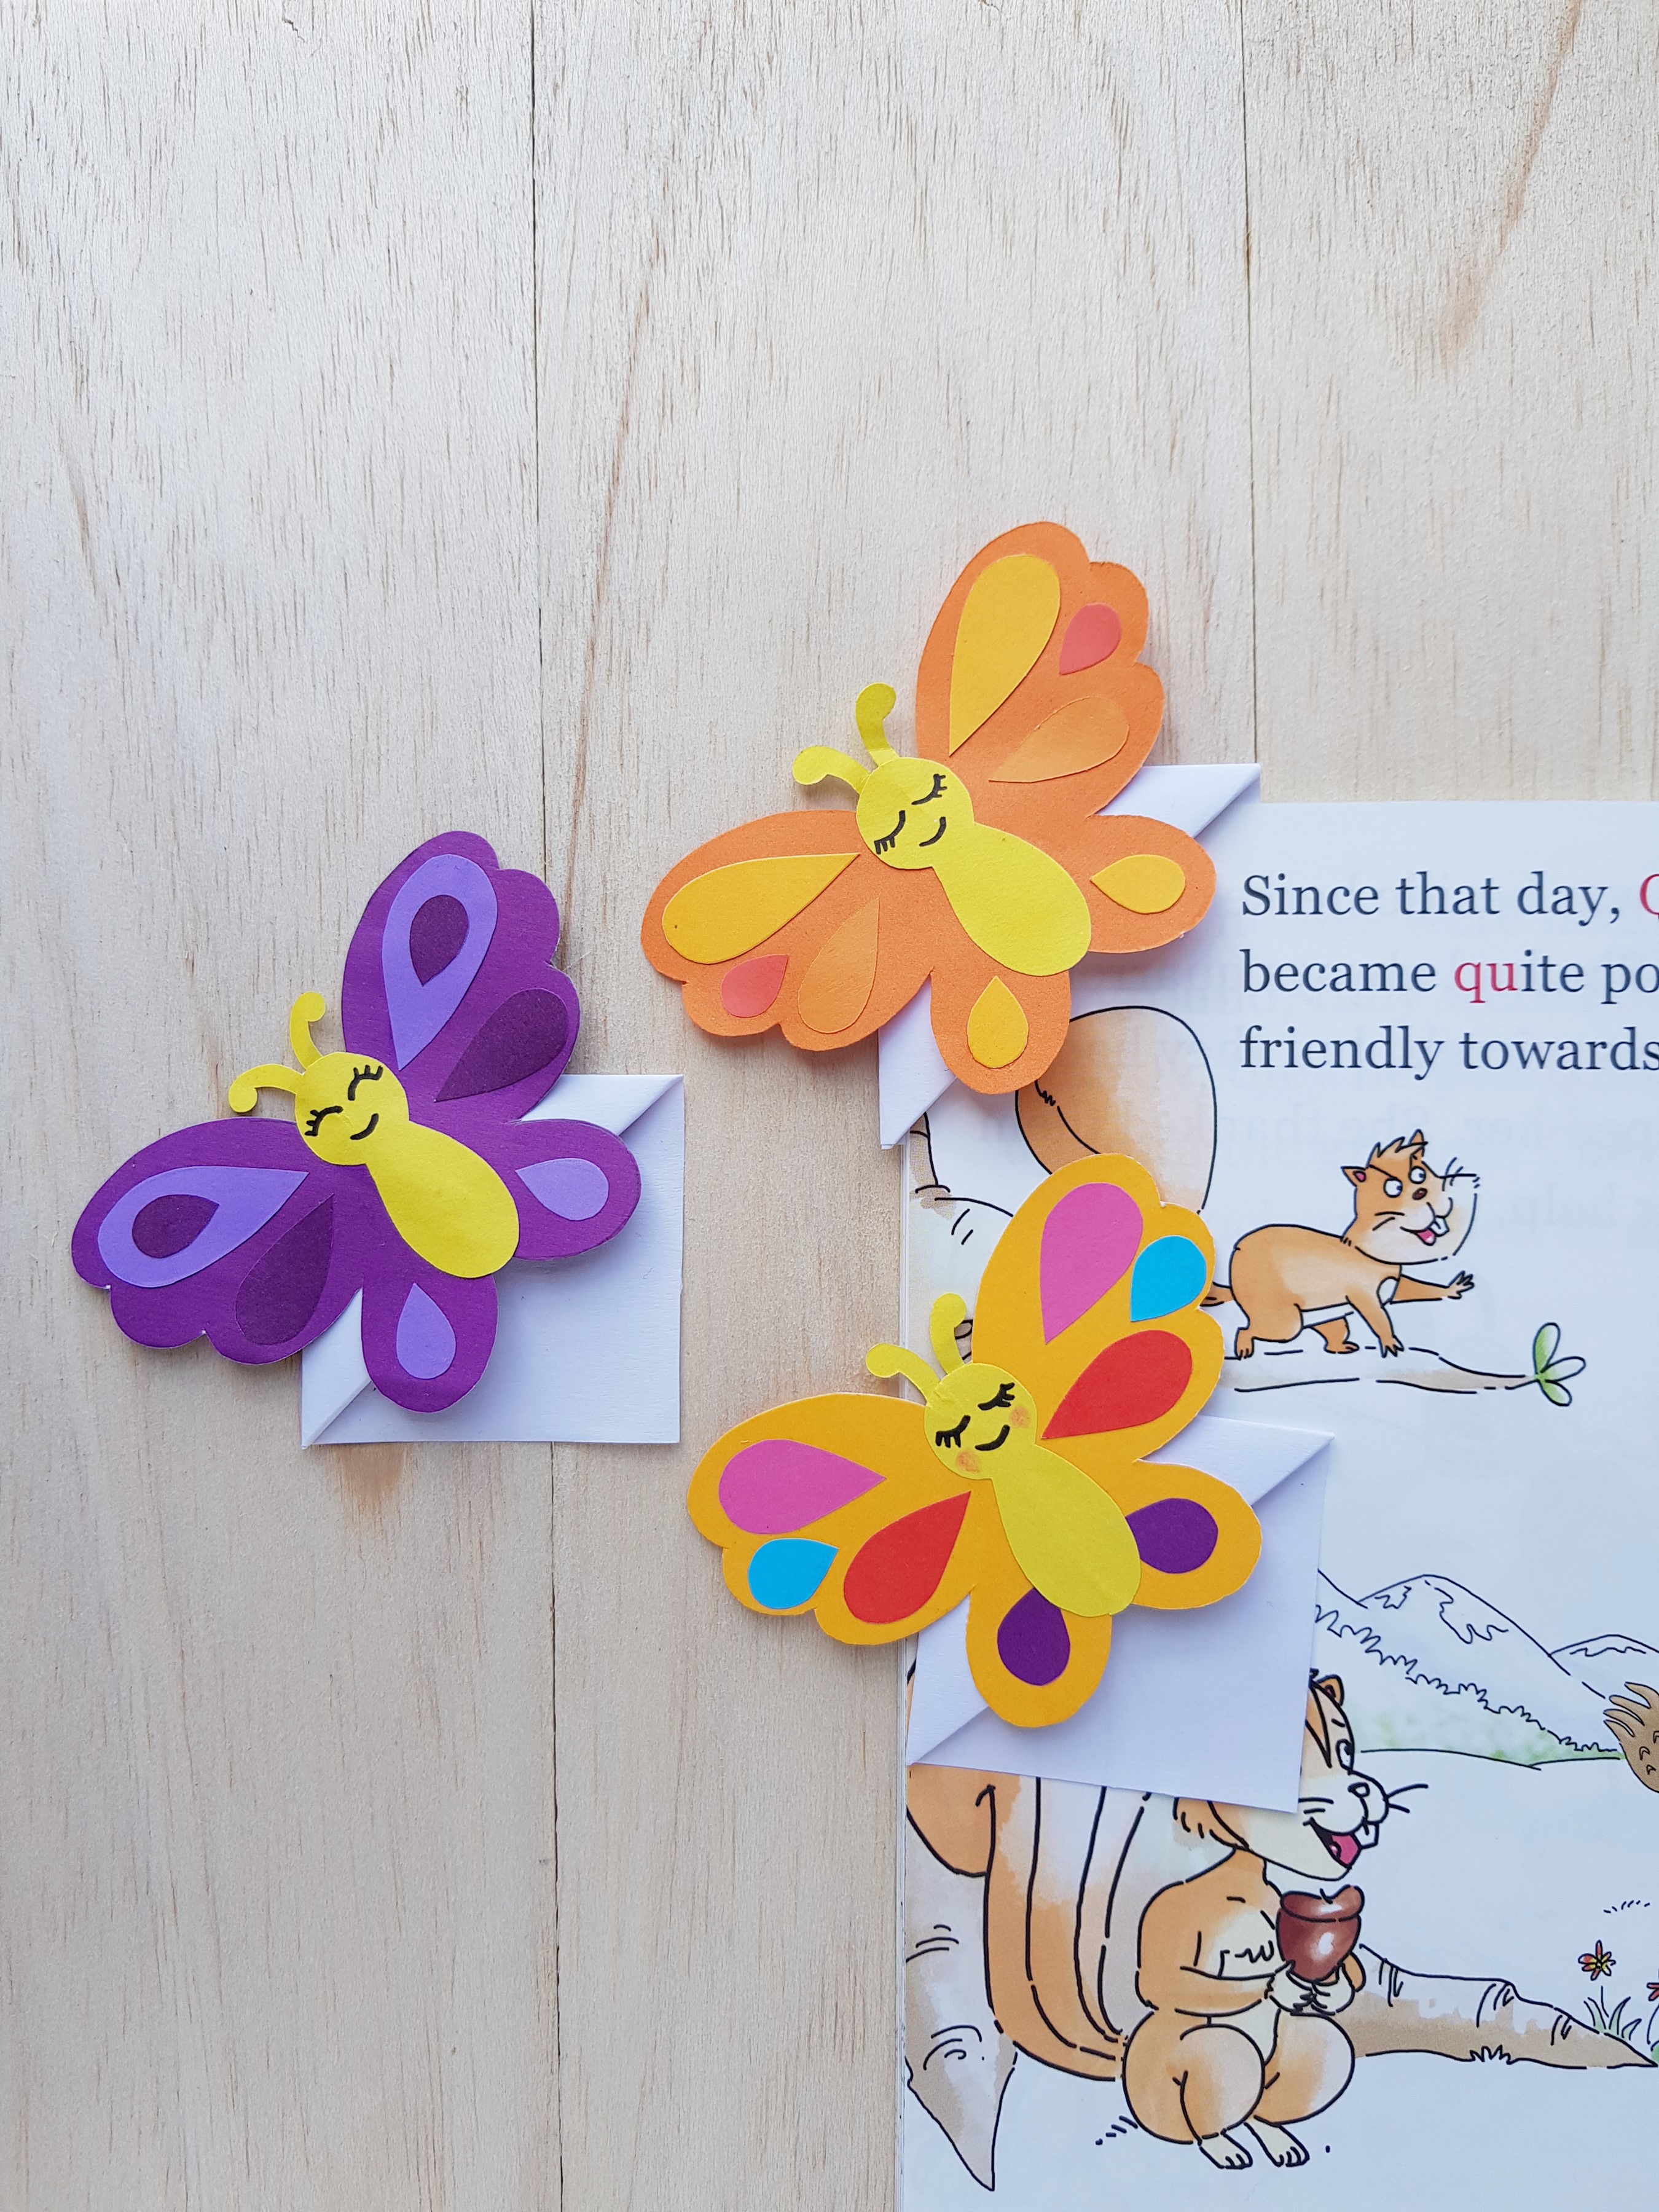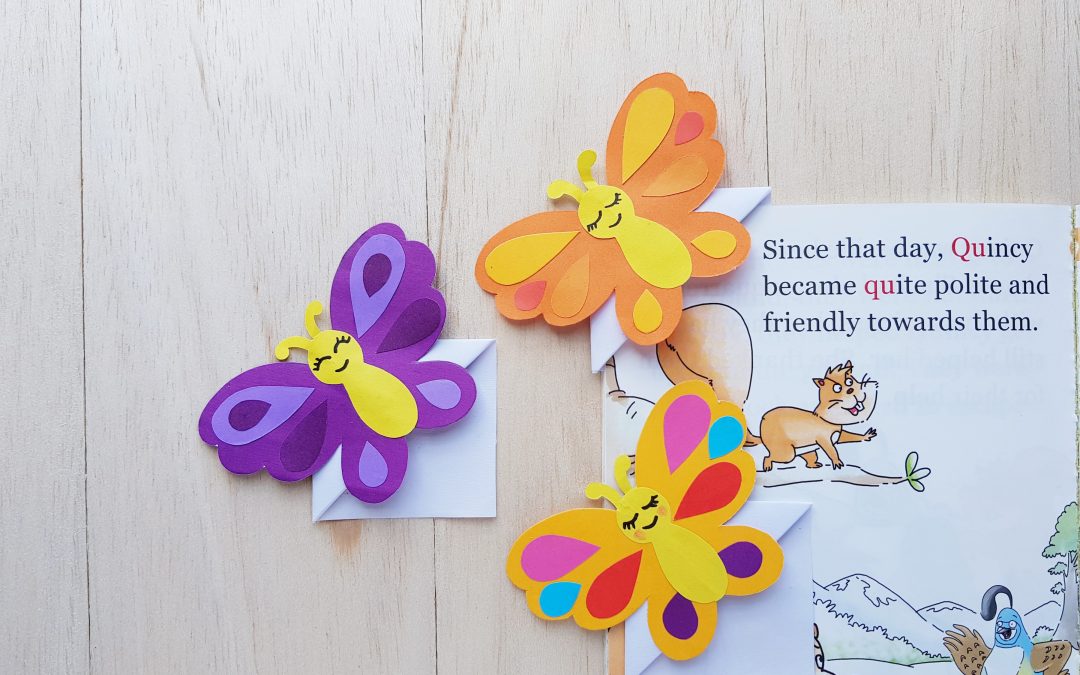
Reading is one of the best ways to engage and learn with your child. As your child begins to read longer picture and chapter books, a bookmark becomes an invaluable tool. Create a butterfly bookmark corner and never lose your place again—not to mention having the perfect activity for your next craft session.
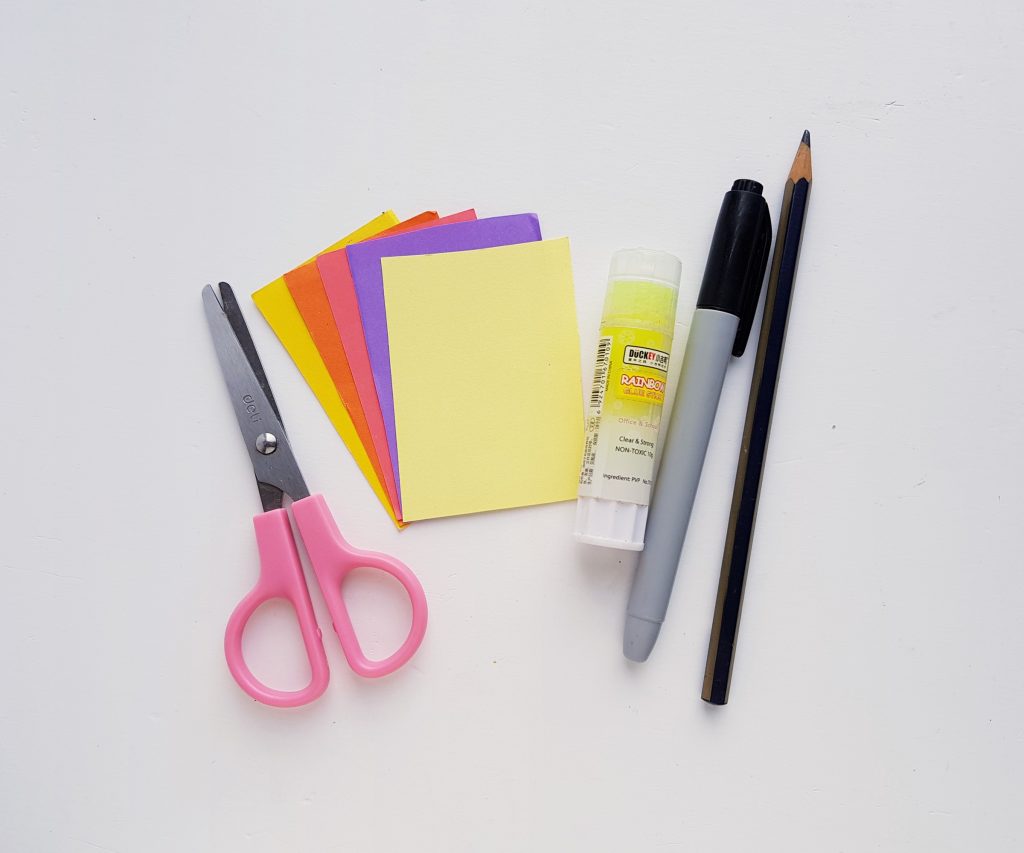
What You’ll Need to Make a Bookmark Corner
- Colored craft paper
- Pencil
- Scissors
- Craft glue
- Black sharpie
How to Make Your Butterfly Bookmark Corner
Step 1
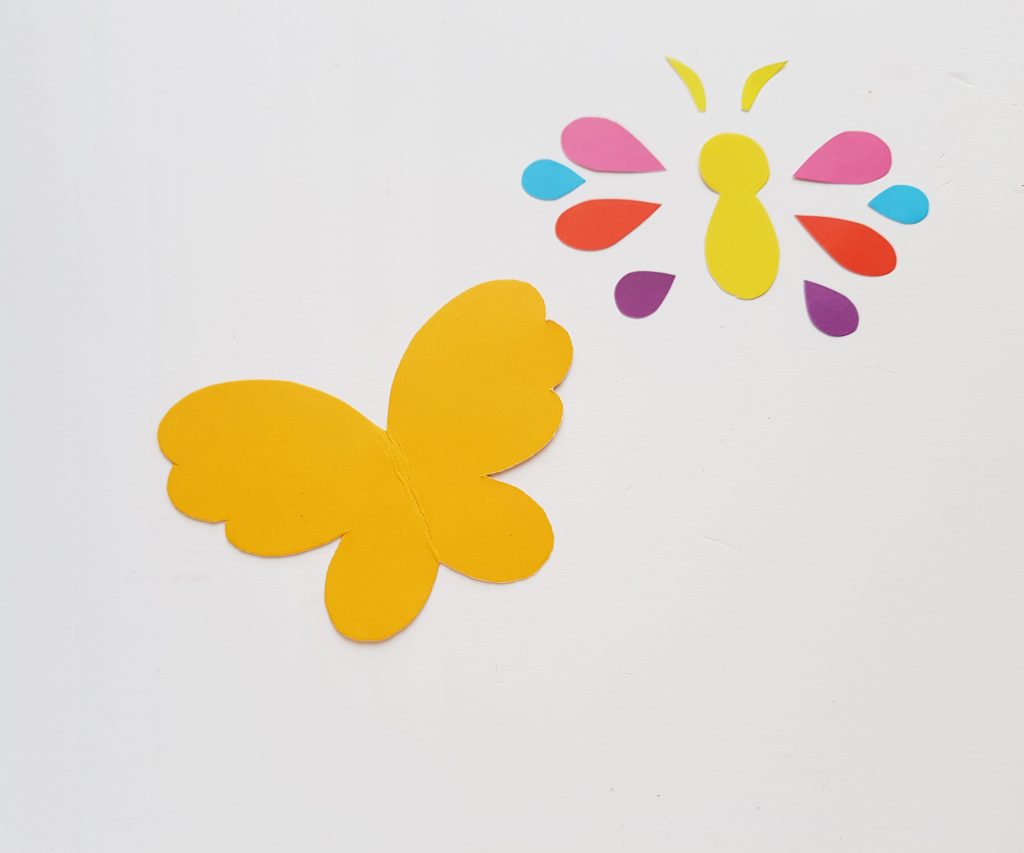
Select different colored craft paper and trace the template patterns on them. Download and print the template here.
Cut out the traced patterns using scissors. The template includes the wings of the butterfly, 1 body, 2 antennas, and teardrop shapes for decorating the wings.
Step 2
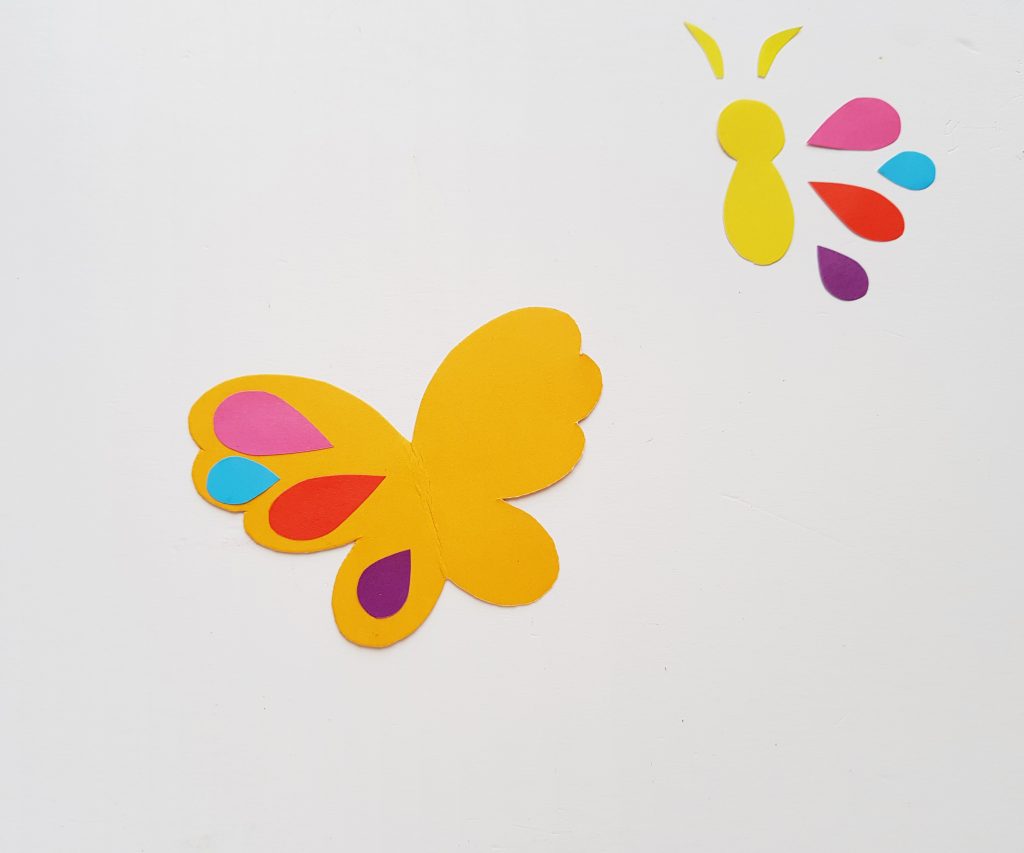
Grab the teardrop paper cut-outs and attach them on one of the wings.
Step 3
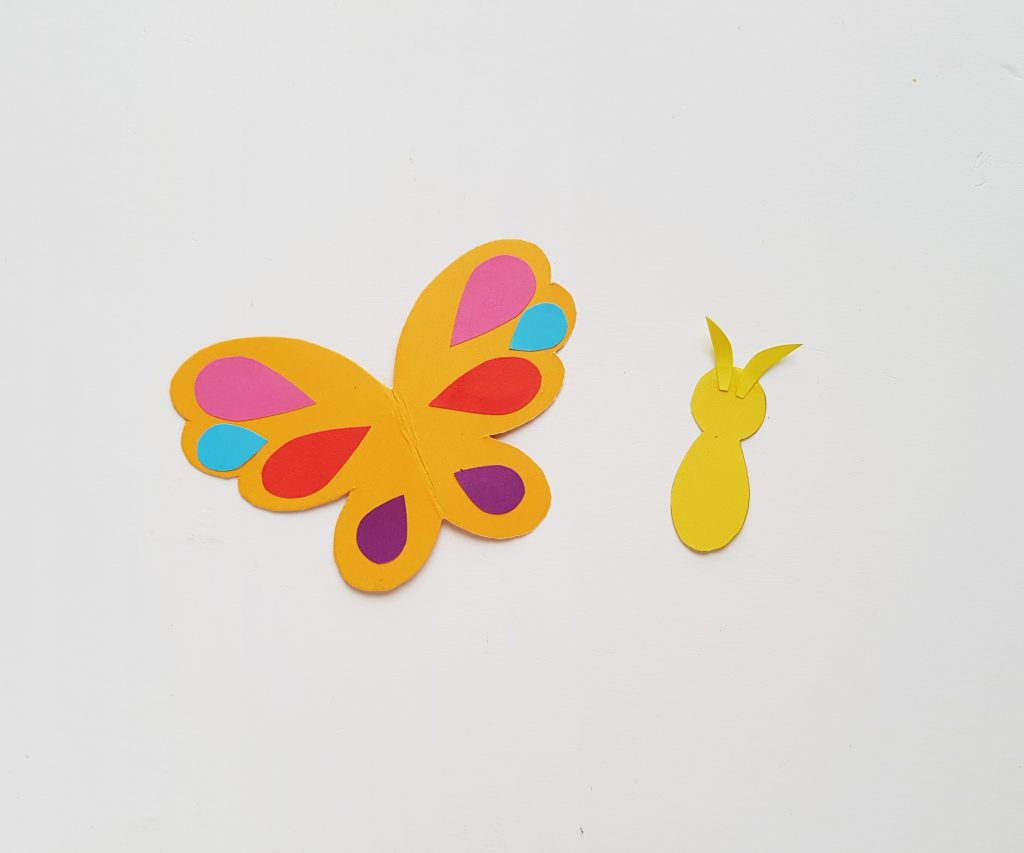
Keeping the previous pattern in mind, similarly attach the rest of the teardrop paper cut-outs on the other wing. Attach the antenna cut-outs on the top side of the body.
Step 4
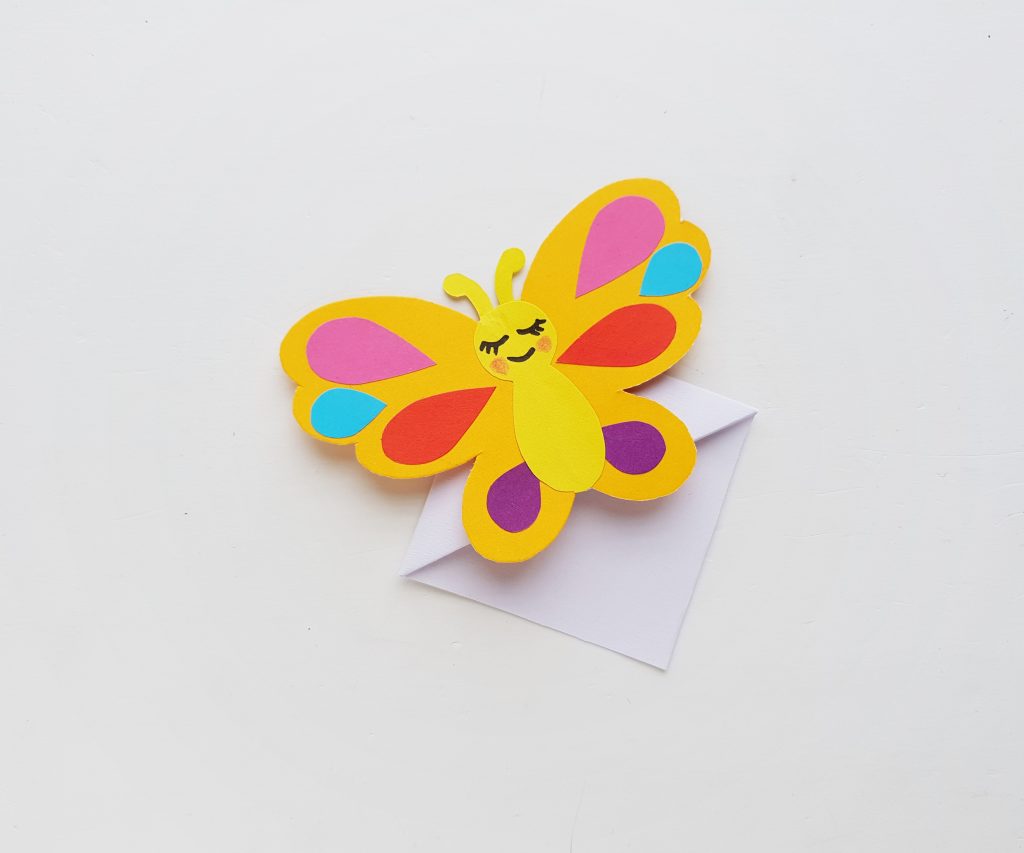
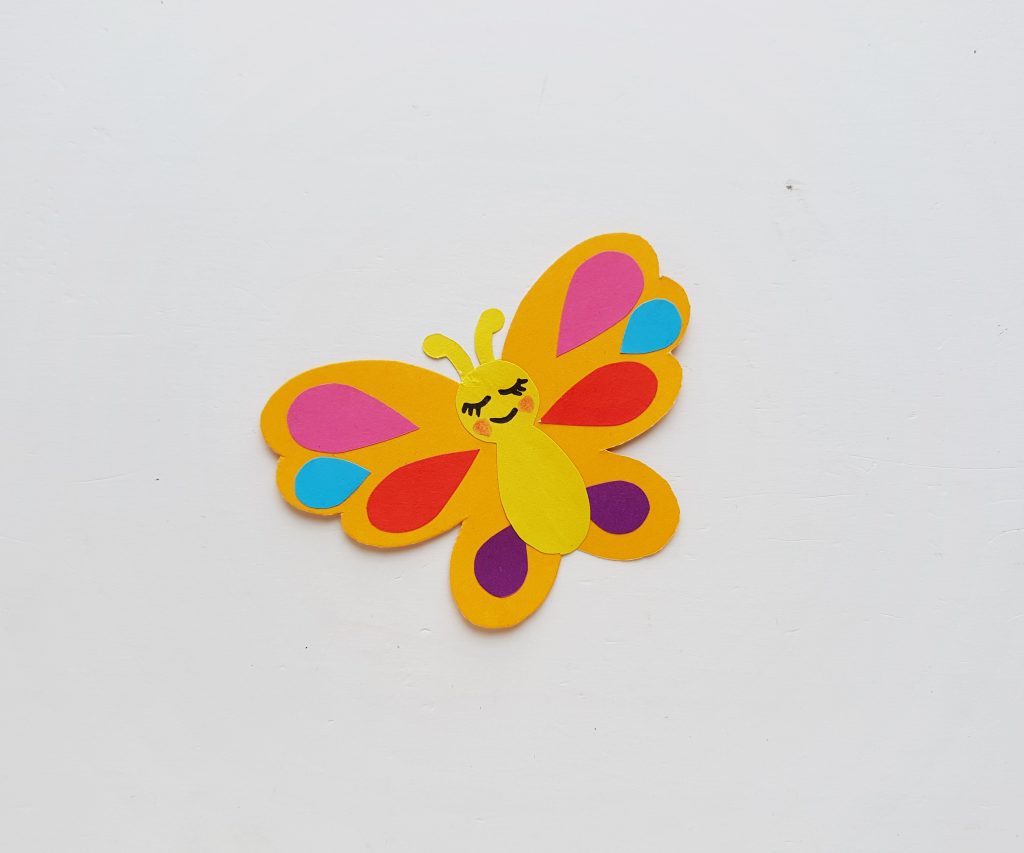
Attach the body pattern in between the wings. Use a black sharpie to create a face for your butterfly. You can also use pink highlighter pen or crayons to add blushing cheeks to the butterfly.
Step 5
Use an 8 x 8 inch piece of regular paper to make an origami corner bookmark. If you’re unfamiliar with how to fold this, check out this quick tutorial from The Book Riot.
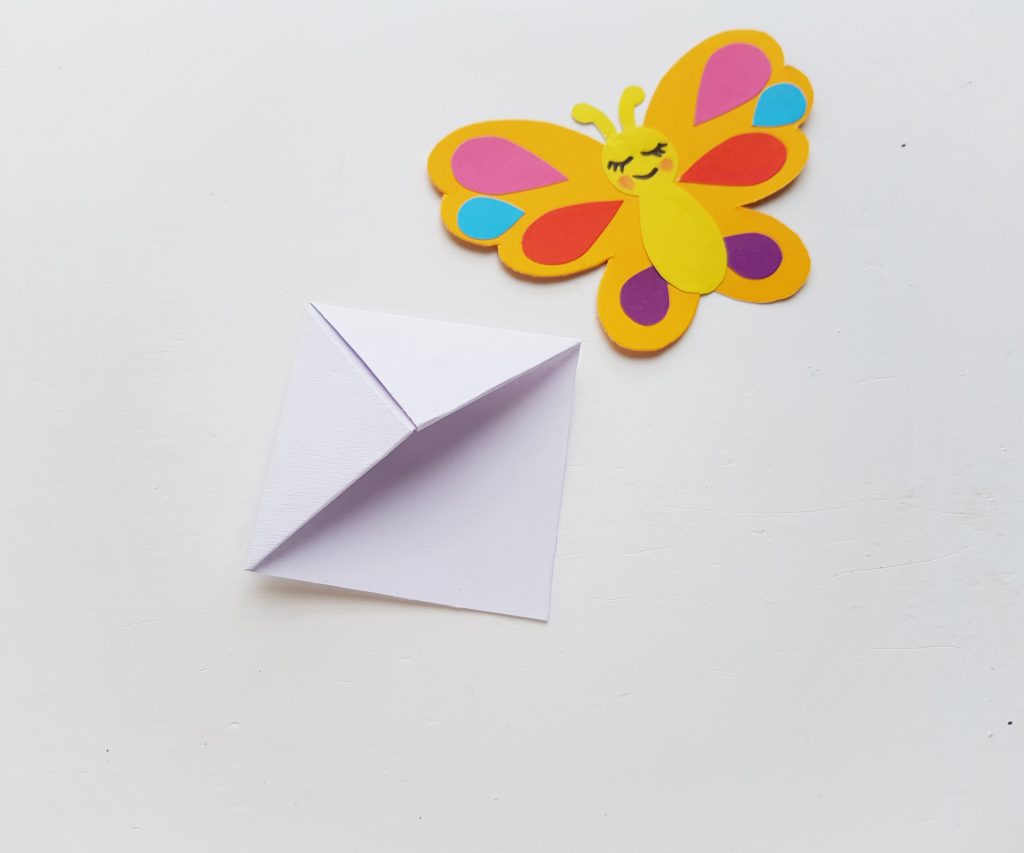
Step 6
Attach the paper butterfly on the triangle side of the origami bookmark and allow the glue to dry completely before using the bookmark.